Saturday, March 17, 2012

Down On The Farm

There isn't much sewing going on around here lately.  It seems my inability to focus has caused me to spend tons of time in the sewing room moving stuff around and looking at fabric, pretty pictures, and patterns but no actual sewing.  I'm a few blocks behind on my Farmer's Wife Quilt Along Quilt again already but I did manage to sew up a few of them in the last week or so.

Noon & Light Block # 60

Peace & Plenty Block # 64

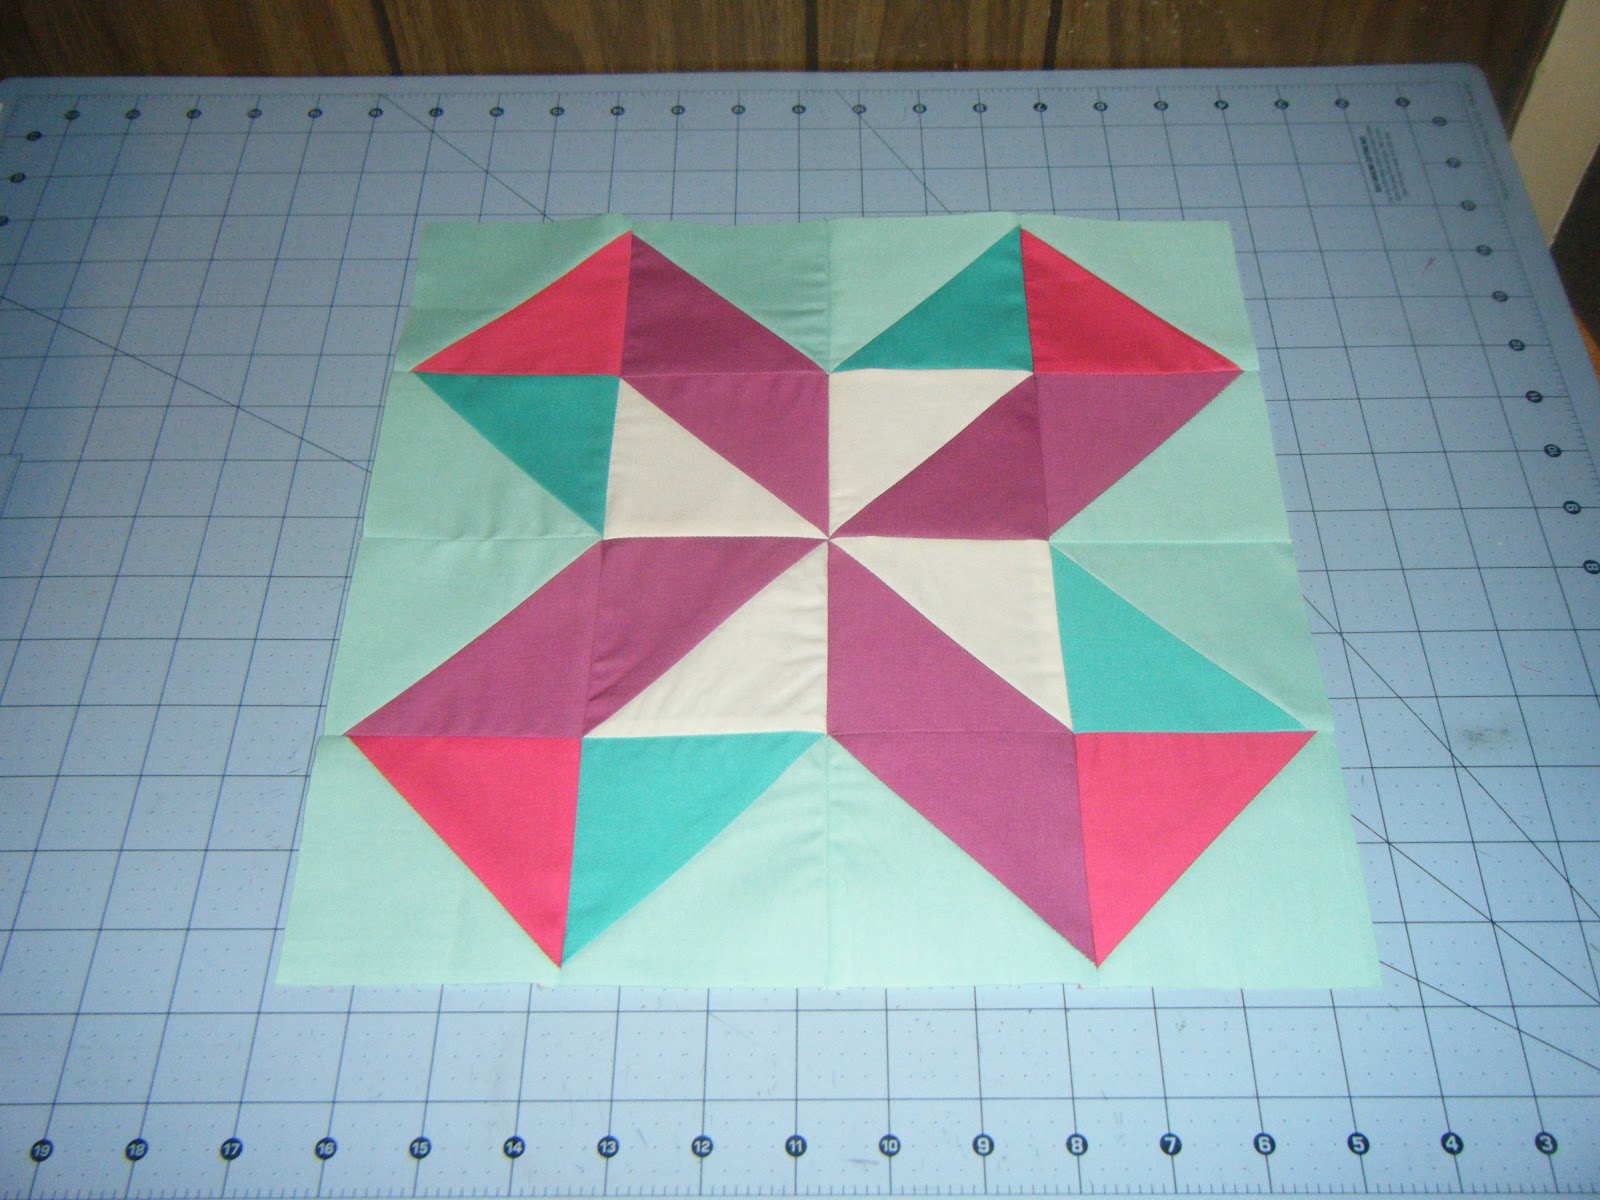
I'm not a huge fan of Square Dance.  I wanted to use the stripe fabric because I have been having a really hard time working that in to these little squares but I'm not sure it has enough contrast to really make that block pop the way it needs to since it is such a simple block.


Square Dance Block # 85


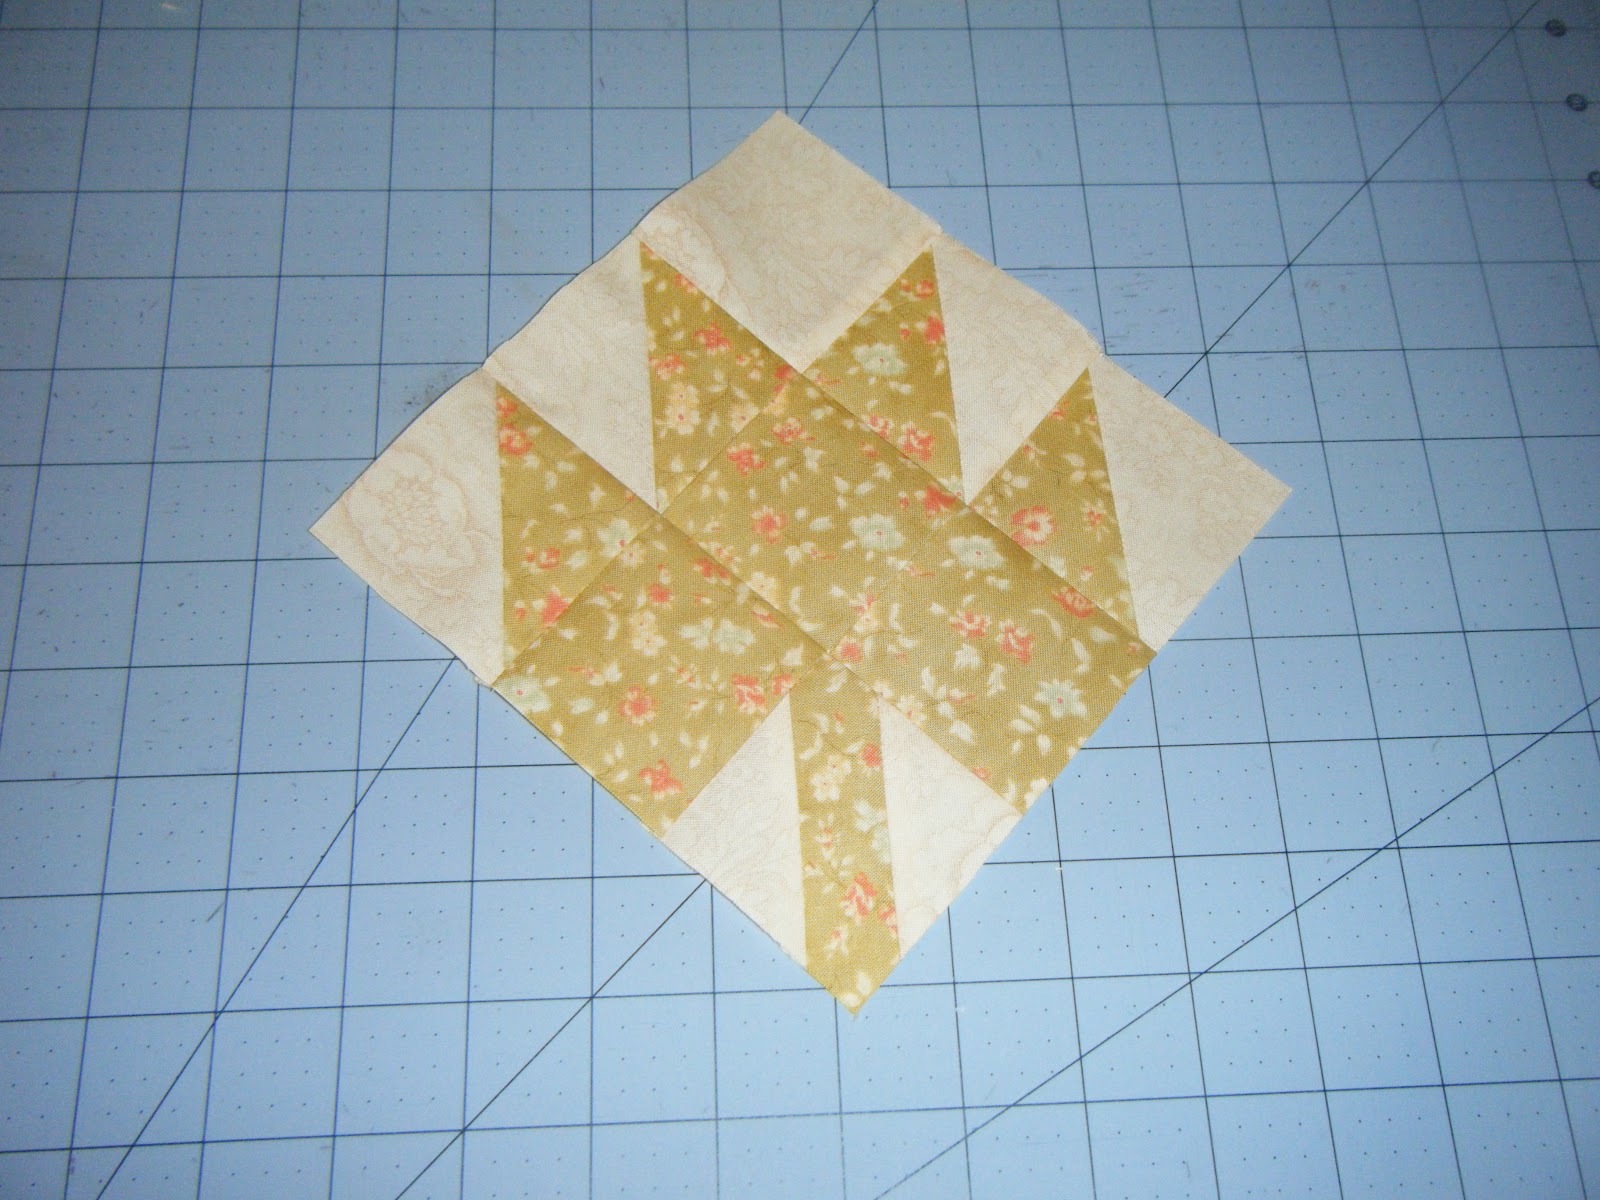
Tulip Block # 96


How are you coming along on the Farm?  These blocks bring my total count to 63 out of 111 blocks done.  I am finding it is a little harder to find blocks I want to make when I just have a few minutes to sew since I have made a lot of the easier blocks.  But it is still a fun project and I am excited to see what happens when it's done.


Wednesday, March 7, 2012

WIP Wednesday

First off I want to say I don't know how those of you with young kids do it.  We have been helping out a friend who is having a bit of a hard time and part of that package is a 2 year old every other weekend and a few days a week.  Now I love "monkey" almost as much as I imagine I will love my own child someday but man does she cut into some serious sewing time.  So I am very slowly making progress on some projects on the days that she isn't staying at the house.

I only managed to squeak out one Farmer's Wife Block in the last 2 weeks which means I am behind schedule again but I'm hoping that I will be able to knock out a few this weekend.

Cats and Mice Block #17

I am still working on sewing together my hexagons by hand which is another very time consuming project.  But it is pretty relaxing until you start to get a callus on your finger.  Yeah I'm one of those who refuses to wear a thimble.  I can't explain it they just feel weird.  But I've never been a fab of gloves or anything like that either so I guess my hands are like my feet, they like to be free.

Hand Sewn Hexagons Progress

I've found at this point it's a little easier to sew clumps together and then add the clumps to the main piece which is why it is such a strange shape but hey it seems to be working for me.

The last little project I worked on was this quilt top for Nichol.  A group from the Old Red Barn Quilt Along Group broke off to create traveling quilts this year.  I am in a group that is doing a round style quilt.  So I started with Nic's middle which was the pinwheels inside of the brown boarder.  I changed my plan about a million times but this is where I ended up.

I added the yellow boarder with floating pinwheels.
I wanted to make a ton of pinwheels but I was afraid it would be too busy so I went a little minimalistic and I hope she will really like it.  It did give me the chance to write my first ever tutorial for that patchwork pinwheel in there.  You can find that here.  I also made cornerstone blocks using one of the patterns from the Farmer's Wife Book because Nichol had used cornerstones in her round I thought she might like to keep that going. 

I think the hardest part about this group for me is that there is no real direction.  I think everyone wanted to leave it open ended so the biggest restriction so far has been a request to stay with a color scheme.

I borrowed this photo from Nichol because this is where she ended.
This is the next top that I get to work on and I have to admit I am at a total loss right now as to what to add next.  Any suggestions?

Well that's a look at what I'm working on.  Be sure to head over to Lee's to check out what everyone else is up to on this WIP Wednesday.

Sunday, February 26, 2012

Patchwork Pinwheel (A Tutorial)

Well one of the goals on my list for 2012 was to write a few tutorials for my blog.  The problem is most of the things I make are from a pattern, or quilt along, or are very heavily influenced by someone or something I have seen.  Well I had this idea floating around in my head for a while for a patchwork pinwheel but didn't want to take the time to figure out all the little triangles and I mean really who wants to spend all that time cutting anyway.  So I came up with a quick and easy patchwork pinwheel block for a round robin bee I am in and decided I would take pictures and share with you all.  Now this is the very first tutorial I've ever written so please bear with me, but if you have any questions just ask.  Also because blogosphere is so big I'm also sure I'm not the first person to do this.  I've never seen it done but I also didn't search all over the Internet either.  Okay now that all of those bits are out of the way lets get started.

 
Patchwork Pinwheel

I made my block to finish at a 5 inch square.  But you could very easily use this method to make a much larger or smaller block.  To start you want to cut an assortment of squares.  For my block I started with 2 inch squares, if you are making a larger block you may want to increase the size.  For the 5 inch block I started by sewing a simple 4 patch.  You will need two(2) 4 patches for each block.  If you are making a larger block increase your four patch to a six or nine patch for a larger size.  Or increase the size of your squares from 2 inches.

Star by making two(2) 4 patches.

Next you will need to cut 2 squares of you solid (alternate) fabric.  Now draw a line on the back of your solid block from corner to corner and sew 1/4 of an inch seam on each side.  I use this handy tool called a Magic Wand that I picked up a few years ago.  It is a 1/2 inch wide with a laser line down the middle and I use it to make all of my Half Square Triangles.

Mark your sewing lines on the solid
Now you want to cut on the line you drew and press your half square triangle units.  Then trim to size.  For my 5 inch finished block I used a 3 inch HST.  Another handy tool I recommend having in your quilting arsenal is a ruler made for squaring up HST units.  Mine is the Tucker Trimmer and it works for HST units as small as 11/2 inches all the way up to those that are 61/2 inches big.


Cut your blocks down the middle after sewing

Square up your HST units


HST Unit once it is squared up
Then layout your HST units into the pinwheel that you want.  I played with mine a lot until I got the symmetry I wanted since I had repeated fabrics in my two four patches this was a little more tricky then it probably should have been.

Lay out you block how you like it. Sew your blocks into 2 rows and then sew your rows into a finished block.

Sew your two squares into a row and then sew your two rows together into a finished block and woo hoo you have made a easy peasy patchwork pinwheel.  If you make one I'd love to see it.  Leave me a comment with a link so I can check it out.  And remember if you have any questions just ask, I'd be happy to answer them.

Press your finished block and enjoy!

Saturday, February 25, 2012

Out of Focus

Things around here have been a little crazy lately.  Bertha went to the spa for her annual visit and while she was gone I worked on my 5 Year Project (hexagons).  But now she is back and I've been wanting to sew.  Trouble is I just can't seem to focus on anything.  My mom and I went to the Midatlantic Quilt Show yesterday and I expected to be showing off my goodies and to be inspired and excited about a lot of things.  Truth is I expected to be out of focus because of overwhelming amounts of inspiration.  But instead I was pretty disappointed with the show this year.  There weren't very many quilts, and some of the ones that were there I wasn't a fan of.  I have to say I think when entering a quilt into a show you should at least make sure your seams haven't popped and that there aren't loose threads covering the quilt.  Just a little pet peeve of mine.  There were a ton of vendors but an overwhelming amount who didn't have fabric.  It was just less than impressive to me.  I came home with a box of pins and a charm pack of Walk in the Woods.  No major goodies like last year's discovery of Swell.  It's okay though now I can do a little online shopping knowing I'm not missing out on a great deal at the quilt show.

Hexagons that are sewn together.  It's getting bigger!
Now that Bertha is back and I can sew on my machine again I took the opportunity to catch my Farmer's Wife Blocks back up.  I made three blocks so far this weekend but I imagine I will make a few more tomorrow.

Block 52 Hovering Hawks
Block 90 Storm Signal
Block 28 Duck and Ducklings
Last I picked back up my blocks from the Summer Sampler.  I had been putting off this project because as you know if you have read my blog before, I don't know how to paper piece and the rest of the blocks require some paper piecing.  Well there was one that didn't so I made that one first and then I actually tried paper piecing and I made a block.  It's not perfect, it's a smidgen small, and I think I have some extra fabric in my blue on two of the pieces but I tried it.  It took me a long time and I'm not very good at it but at least I can say I tried.

Summer Sample Series-Star

Summer Sampler Series- Lucky Pieces

So while I'm looking for my focus and my sewing mojo I'd love to hear what you all are working on.  Maybe you can spark some inspiration for me.

Wednesday, February 8, 2012

WIP Wednesday-Down on the Farm


The first 55 blocks for the Farmer's Wife Quilt Along

After having the cold that kicked my butt for almost 2 weeks straight (made me lose my voice and everything) I finally felt like sewing this past weekend.  But the only thing I managed to work on was my Farmer's Wife Quilt Along project.  I had gotten a little behind on these blocks and then the group decide to take a break over the holidays.  I imagined I would get caught up during that time but instead I worked on other projects and so with the group kicking it back into gear today I felt the pressure to use this weekends sewing time to get caught up.  Get ready for some pictures in no particular order.

Block # 25 Cups & Saucers

Block #56 Maple Leaf

Block #51 Hovering Birds

Block # 2 Autumn Tints

Block #103 Whirlwind

Block #107 Windblown Square

Block # 23 Country Farm

Block #98 Waterwheel

Block #108 Windmill

Block #73 Rainbow Flowers

Block #111 Wrench

Block #29 Economy

Block # 1 Attic Windows

Block #83 Spider Web

Block #31 Evening Star
 Yup I made all but three of those on Saturday and Sunday.  One of the blocks (Windmill) was done but it had a block turned the wrong way.  Turns out I had to rip out like 7 seems on Sunday to fix it but now it's made the right way.  The other two blocks (Maple Leaf & Hovering Birds) I sewed together Tuesday night.  I had cut out all the pieces for Hovering Birds in between commercials on Sunday (you know the real reason to watch that thing called the Super Bowl).

Be sure to head over to Lee's and check out what everyone else is up to this week. 

Thursday, January 19, 2012

The First Finish of 2012 (well at least 1/2)

My mom and I worked together on this quilt for my nephew.  It's hard to believe he is almost a year old already.  And with a face like that who wouldn't want to make as many quilts as possible just to get in a little bit of extra snuggle time.

Finishes Max and Whisker's Quilt
It all started last year when Julie released a bunch of patterns designed to be used with the lazy angle rulers.  I knew I wanted to make one or two of these quilts.  I also knew I needed to find a good excuse to make something with the Max and Whiskers line because it was just so cute.  My mom and I went on a mini quilt shop hop last year around the same time and one of the stores we stopped at had the pattern, ruler, a jelly roll, and yardage of Max and Whiskers.  We ended up picking the Fast Forward pattern.


I started things off by sewing together the jelly roll strips and cutting out the blocks.  I did make a huge mistake when cutting the orange grunge fabric.  I left my fabric folded in half thinking I would be smart and cut two pieces at the same time.  Needless to say I ended up having to recut half of those pieces because they were all backwards.  It was completely my fault because after rereading the pattern Julie even mentions not to do this.

Close up of quilting and stars

Once the blocks were together the pieces and I went to visit my mom and at that point we sewed the rows together and laid them out.  It was at this point that we decided to skip the sashing between the rows which is what gave us these more defined stars.  And since we were making the lap size quilt for a small child size wasn't really a factor.  Once the quilt top was together my mom took it to her local long arm quilter who quilted the sweetest little paw prints on the quilt.  She says it was intentional but I love that the stars ended up with a great clear paw print in them.

Back of the quilt

For the back of the quilt my mom used a piece of yardage we picked up for the back and left over pieces from the front of the quilt.  I love that print on the back and I think it is one of my favorite from the entire line.  I loved working on this quilt with my mom and I would recommend Julie's patterns for anyone looking for a fun and quick project.  If speciality rulers aren't your thing she does include a template for the blocks.  But with a whole line of patterns designed for use with the rulers and a ton of other ideas on the internet it really is worth the investment.


Wednesday, January 18, 2012

WIP Wednesday

How is it already Wednesday again?  You would think that the three day weekend would have helped but the truth is I just feel that much more behind.  I did make some progress this week though.  I finished piecing my Loulouith Tiles Quilt.


This quilt has really been a lot harder than I expected.  I did a few things different from Rachel's suggested pattern.  I increased my size to a queen because I wanted it to be big enough for my bed.  Rachel suggested adding a row to the top and side but I found I actually needed to work them both in to the height to get to the queen size I wanted since the width was already there.  I worked in one of my extra rows in the middle and the other at the top.  So far I am happy with the way this one is coming together.  I just need to piece a small strip for the back and then this one will be off to the long arm.


I'm still not sure if I'll had some hand stitches in those picture frames or not.  Anyone have any thoughts on that?  I think it would look good but I picked up my backing fabric on sale and it even though it is from the same line the fabric does not appear in the front of the quilt and I'm not sure it would look good with the hand stitches.


My fabric came in for my Sunny Trails Quilt I just needed the white fabric still so I am picking that project back up to work on.  I don't think it will be much longer before that one is ready to go to the quilter as well.  Now for this one I do plan to have it quilted all over by the long arm and then I will go back in and add some hand stitches so it will be a nice combination of the two.  I like the idea of hand quilting but I'm a little afraid of it as well.  Quilts around my house take a lot of beating between washes and dogs so I need them to hold up and I'm just afraid a little hand quilting won't last.

Sorry for the iphone photo but my camera died.


Finally I am working on getting my center pieced for the Awesome Rawsome Round Robin Group.  It is a spin off of the Old Red Barn Quilt Along group and I am super excited about this project.  Since I'm not participating in any bees this year I wanted something to do with a small community of quilters and this seemed like a good idea.  As the top goes around my group each person will add a round.  I plan to add more to this before sending it off to the next person.  Think braid and mini weather vane blocks, hopefully I can pull it off.

Be sure to head over to Lee's to see what everyone else is up to this week.